As the saying goes, the grass is always greener on the other side. It’s unsurprising then that many women with naturally straight hair pine for curls and vice versa. This leads to people buying a whole multitude of tools and products to get their desired look, which wastes time, money, and energy.
What if we told you, you could unleash your style with one single tool? Yes, a hair straightener can be used to curl as well as straighten your hair!
In this article, we’ll tell you how with enough guidance and practice, you can create curls on your poker-straight hair or, alternatively, refresh your already-existing tresses into beautifully cascading curls.
Here is all you need to know.
Prepping your hair before you begin curling:
You need to prepare your hair well before you start styling it. Heat damages your hair, and it is essential to take protective measures before applying any heated appliance. Remember to do the following even before you get to curling your hair:
- Wash your hair thoroughly with a moisturising shampoo and conditioner so that it is thoroughly hydrated. Using a towel (preferably microfibre), scrunch your hair to squeeze out excess water – while adding some natural texture to it.
- Use a leave-in conditioner while the hair is still wet so that it is further moisturised. This will also prevent tangles as the hair dries.
- Roughly dry your hair with cool shots from a blow-drier. You can also let your hair air dry, but make sure every last trace of moisture is gone.
- Most importantly, don’t forget to finish with a heat protectant before styling the hair. Always spritz the heat protectant from a distance so your hair is not too wet.
Pro-tip by tira: Patience! Always use a straightener or any heat only on absolutely dry hair. Wait for your hair to dry till the roots to prevent any damage to your hair.
Ensuring your straightener is at the correct setting:
Next comes determining the correct heat setting suitable for your hair type. Setting the heat while considering your hair type and problems minimises the damage and give you the best results after styling.
A low heat setting is enough for very thin and fine hair to achieve the desired style. If your hair is straight, dial it up to a medium to moderate heat setting. If you have extremely thick hair, you will need a higher heat setting to get the result.
Pro-tip by tira: If you have colour-treated hair, you should always use the straightener on a low heat setting, irrespective of your hair type. Coloured hair is more susceptible to damage and breakage.
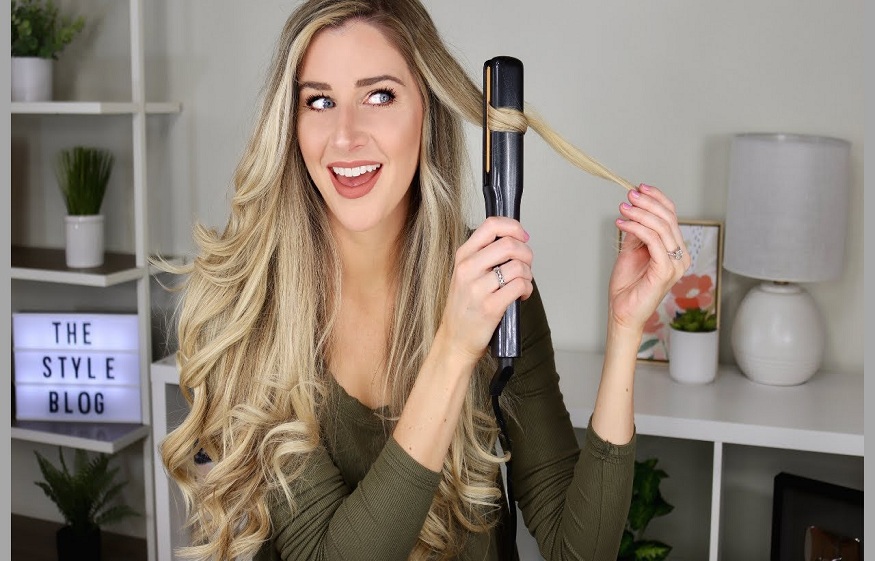
Steps to curl your with a straightener:
Once you get the hang of this styling technique, you can create a variety of curls using a straightener. But generally, women start with very basic curls created by wrapping the hair around the plates and then twisting the straightener around. It is the easiest to master. Here are the steps to creating these curls.
Section your hair
First, create 4-6 sections depending on the density of your hair. This lets you quickly finish the styling without tangling or causing frizzes.
Take one strip at a time.
Take thin strips of hair from each section at a time. The tighter you want the curls, the thinner the section should be. However, it is best not to take sections thicker than 1 inch (2.5 cm) and thinner than 1 cm.
Clamp your hair
Now comes the tricky part. Hold the straightener tip facing the floor. Put a strip of hair between the plates and clamp it down. Be careful of your fingers!
Twist the straightener
Next, you need to hold the straightener at a right angle to your scalp and start twisting it, pulling the strip of hair outward or away from your face.
Pull the hair through
Slowly pull the hair through the clamp while holding the twisted position. Once it falls loose from the straightener, your hair will have a soft wavy curl.
Cool down and finish
Repeat the steps for every strip of hair. Once all are done, let the hair cool down. You can wear the hair the way it looks right after curling. For a more natural appearance, run your fingers through those luscious locks to separate them a little and make them fall easier.
Pro-tip by tira: If you have poker-straight hair, you might want to spritz some hairspray through your fresh curls to make the hairstyle last longer.
Tips for creating different types of curls with a straightener:
We have decoded the different curl types and how to create them with just a simple straightener. Here are a few useful tips that will help you get the perfect curls for every occasion:
- If you want bouncier curls, hold the straightener at a right angle to your face and pull it away from the face.
- For tighter curls, pull it down towards the floor. To set them well so they last longer, you can pin them to the scalp in rolls after curling them. Leave it that way for 1-2 hours.
- If you want pin-curls, take very thin segments. These types of curls will take some time to create but remember not to clamp down on a strip too long, or you will end up burning the hair.
- If you want a vintage bouncy curl that is voluminous, do not break the bunch by running your finger through the curl formations.
- To get a wavy finish, clamp the hair at least 3-4 inches away from the scalp. This not just creates wavy curls but also prevents you from working too close to the hair root and accidentally burning yourself.
Curls have a unique texture and dimension that will ensure you always have a stylish hair-do. A single straightener and dedicated practice are all you need to stay on top of the curling game!
If you enjoyed these tips and suggestions from Tira, check out our other blogs for beauty tips! Also, feel free to browse through our wide range of products on our website.